Polishing & Buffing Pads
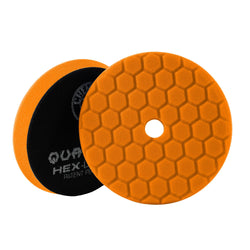
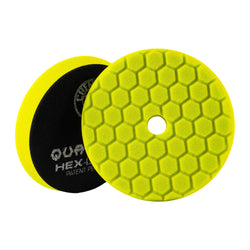
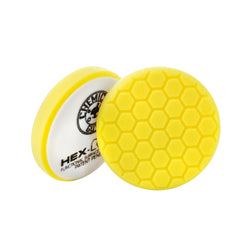
Use cutting & polishing pads by attaching them to your machine polisher backing plate, applying the compound or polish of choice, and getting to work removing your vehicle's imperfections.
-
 4.4Rated 4.4 out of 5 stars16 ReviewsRegular price $16.99Sale price $16.99 Regular priceSee Price in Cart Sold out
 -
 Regular price $198.99Sale price $198.99 Regular priceSee Price in Cart SAVE 26% Sold out
$270.41 -
 4.9Rated 4.9 out of 5 stars740 ReviewsRegular price $294.99Sale price $294.99 Regular priceSee Price in Cart SAVE 10% Sold out
$327.99 -
 4.7Rated 4.7 out of 5 stars165 ReviewsRegular price $267.99Sale price $267.99 Regular priceSee Price in Cart SAVE 21% Sold out
$337.99 -
 4.8Rated 4.8 out of 5 stars175 ReviewsRegular price $35.99Sale price $35.99 Regular priceSee Price in Cart SAVE 8% Sold out
$38.99 -
 4.8Rated 4.8 out of 5 stars106 ReviewsRegular price $9.50Sale price $9.50 Regular priceSee Price in Cart SAVE 5% Sold out
$9.99 -
 4.5Rated 4.5 out of 5 stars53 ReviewsRegular price $12.49Sale price $12.49 Regular priceSee Price in Cart Sold out
 -
 4.9Rated 4.9 out of 5 stars22 ReviewsRegular price $7.99Sale price $7.99 Regular priceSee Price in Cart Sold out
 -
 4.9Rated 4.9 out of 5 stars53 ReviewsRegular price $11.40Sale price $11.40 Regular priceSee Price in Cart SAVE 5% Sold out
$11.99 -
 4.8Rated 4.8 out of 5 stars26 ReviewsRegular price $12.99Sale price $12.99 Regular priceSee Price in Cart Sold out
 -
 4.8Rated 4.8 out of 5 stars116 ReviewsRegular price $34.00Sale price $34.00 Regular priceSee Price in Cart SAVE 33% Sold out
$50.99 -
 4.8Rated 4.8 out of 5 stars18 ReviewsRegular price $12.15Sale price $12.15 Regular priceSee Price in Cart SAVE 10% Sold out
$13.49 -
 5.0Rated 5.0 out of 5 stars9 ReviewsRegular price $10.49Sale price $10.49 Regular priceSee Price in Cart Sold out
 -
 5.0Rated 5.0 out of 5 stars5 ReviewsRegular price $12.49Sale price $12.49 Regular priceSee Price in Cart Sold out
 -
 4.6Rated 4.6 out of 5 stars34 ReviewsRegular price $24.99Sale price $24.99 Regular priceSee Price in Cart SAVE 17% Sold out
$29.99 -
 4.4Rated 4.4 out of 5 stars36 ReviewsRegular price $5.50Sale price $5.50 Regular priceSee Price in Cart Sold out
$9.99 -
 5.0Rated 5.0 out of 5 stars11 ReviewsRegular price $12.99Sale price $12.99 Regular priceSee Price in Cart Sold out
 -
 4.9Rated 4.9 out of 5 stars11 ReviewsRegular price $12.49Sale price $12.49 Regular priceSee Price in Cart Sold out
 -
 5.0Rated 5.0 out of 5 stars4 ReviewsRegular price $6.37Sale price $6.37 Regular priceSee Price in Cart SAVE 15% Sold out
$7.49 -
 5.0Rated 5.0 out of 5 stars8 ReviewsRegular price $13.49Sale price $13.49 Regular priceSee Price in Cart Sold out
 -
 4.9Rated 4.9 out of 5 stars7 ReviewsRegular price $9.99Sale price $9.99 Regular priceSee Price in Cart Sold out
 -
 5.0Rated 5.0 out of 5 stars4 ReviewsRegular price $8.10Sale price $8.10 Regular priceSee Price in Cart SAVE 40% Sold out
$13.49 -
 4.7Rated 4.7 out of 5 stars93 ReviewsRegular price $10.49Sale price $10.49 Regular priceSee Price in Cart Sold out
 -
 5.0Rated 5.0 out of 5 stars2 ReviewsRegular price $12.15Sale price $12.15 Regular priceSee Price in Cart SAVE 10% Sold out
$13.49 -
 3.0Rated 3.0 out of 5 stars2 ReviewsRegular price $9.99Sale price $9.99 Regular priceSee Price in Cart Sold out
Getting Started with Polishing and Buffing Pads
Use cutting & polishing pads by attaching them to your machine polisher backing plate, applying the compound or polish of choice, and getting to work removing your vehicle's imperfections.
When your vehicle is showing scratches, swirls, and imperfections, it’s time to get polishing. With the exception of the Hand Pads, which are made for polishing tight spaces by hand, these Hex-Logic polishing and buffing pads attach to a rotary polisher or dual-action polisher. Understand the differences between the colored polishing pads in our blog post.
When you’re ready to start and the vehicle is clean, the first step is to make sure the pad is centered on the polisher so that it doesn’t rotate off-balance. Apply 5 dime-sized drops of polishing product to the pad. Then spray pad conditioner onto the pad (two sprays will do). This reduces friction between the pad and the surface.
Next, press the pad onto the vehicle surface in several spots, all over the first section you’re going to polish. This gets a bit of polishing creme all over the surface that you’ll be going over with the polisher shortly.
Tip: Keep the pad perfectly flat as you polish. This prevents any digging that would have a marring effect on the paintwork.
Repeat over the full surface of the vehicle and repeat with light-duty polish and polishing pads as needed. Follow up with glaze, seal, or wax to get a highly protected, high-shine finish.
How much pressure to apply to the polisher
As you’re polishing, let your hand rest freely on the top of the polisher (or on the handle for that purpose, if there is one), which is about 5 lbs of pressure. If it’s too light, you’ll just be skimming over the surface and not actually cutting or polishing.
How to clean your polishing and buffing pads
Your buffing and polishing pads will be covered in wax, compound, or polishing product after the job is done. To avoid damage to the pad and caked-on residue, use our Foam & Wool Polishing Pad Cleaner. It’s a citrus-based cleaner that breaks down polishing creme and wax and removes any leftover product (plus whatever dirt it picked up).
You’ll just spray the cleaner onto your polishing pads, scrub them with a stiff brush, and rinse with warm water. Leave out to dry and you’ll be ready for the next time you need them.
Learn More: Exterior How-To's
-
 How to Protect Your Car’s Paint from the Sun’s Harmful RaysFind out how to protect your car from sun damage with Chemical Guys. Learn easy tips to keep your car shining bright. Join our car care community!
 -
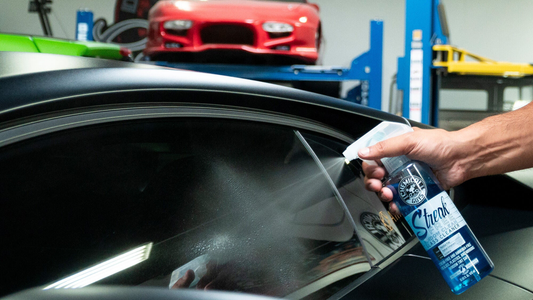 The Best Products for Cleaning Tinted Car Windows SafelyDiscover the best products for safely cleaning tinted windows. Join the Chemical Guys family for an easy, fun detailing experience!
 -
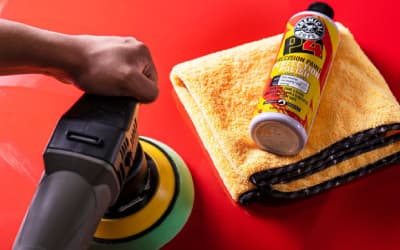 Beginners Guide on How to Polish Your CarUnlock the secrets to a flawless finish with our beginners guide to car polish. Learn step-by-step techniques and essential tools to enhance your car's shine and protect its paint.
 -
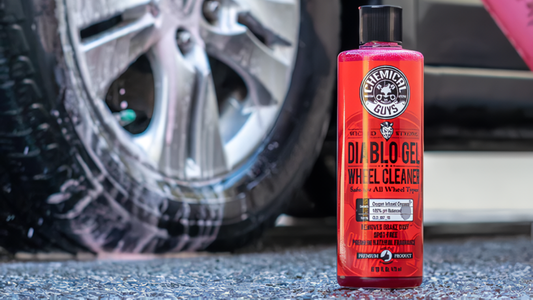 The Best Way To Clean And Protect Your Aluminum WheelsBuild your knowledge base on how to clean aluminum wheels and give them a lasting shine with Chemical Guys’ detailing tips and tricks.


